

GLUES
LIQUIDS
LASH LIFT
BROWS
OTHER PRODUCTS
OUTLET
5 Mistakes To Avoid When Taking A Lash Picture
by Abigail Madden Mac 31, 2023 4 min read
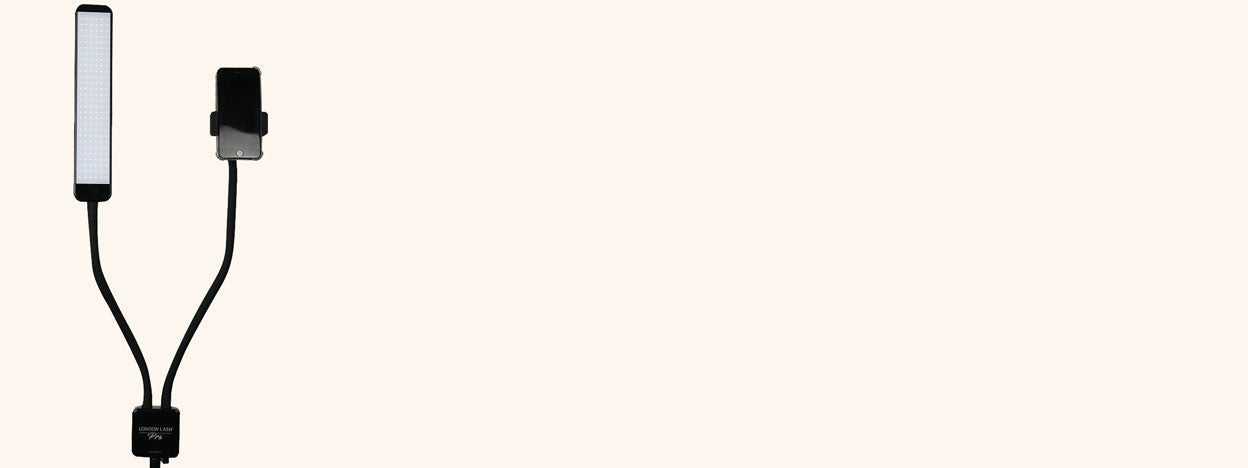

Table of Contents
5 Mistakes Lash Techs Make When Taking A Picture
Taking a good picture of your work is crucial if you are seriously thinking about promoting and expanding your business. Social media is more saturated than ever with fresh content every second of every day, so getting exposure is no longer as simple as taking a quick snap.
However, we're not here to put you off. We have some of the best tips and tricks from London Lash Pro experts to make sure your pictures break through the noise.
We are going to introduce you to 5 key rules you should follow to make sure the lash pictures you are taking showcase your best work and make you stand out.
Dirty Lens
You may think something so obvious isn't worth mentioning, but it's so easily overlooked! A blurry camera lens is one of the most common mistakes we come across when you are asking us for feedback on your work or your Instagram profile. Very often, Lash Artists are so focused on good angles, great lighting or their gorgeous lash extensions set that they forget to clean their camera lens. As a result, you end up with cloudy, blurry pictures, and let's be honest, no one likes to look at those! So from now on, before you take any pictures of the gorgeous eyelash extension sets you have created, always remember to wipe the lens!

Bad Lighting
The second most common mistake is bad lighting. What can we say? If you want to take a good quality picture, you have to invest in a good light! The Glamcor range is a great option for taking Insta-ready pictures after your treatment. Our personal favourite is the Glamcor X Multimedia Content Creation Kit, as well as its alternative, the Glamcor Capture. With the appropriate phone holder, these models can double up as a beauty light and a phone stand, making content creation easier than ever. Just think about the TikTok videos you could make!
Adjustable brightness and positioning help you adapt your lighting for everyday treatments and photography, so if you don’t have a professional beauty light already, add it to your list!

If you still need some persuading, check out our guide to choosing the best Glamcor lighting for your lash business.
Light Placement
Unfortunately, buying a good lash light won't instantly solve all your problems. It's equally important to understand how to set up the light so your photos are always clear and bright. To take a good picture, you have to remember to light the exact area you will be photographing. For example, if you are planning on taking pictures of one eye only, then you will need to focus the lighting on that eye. If you are thinking of taking pictures of the whole face, adjust the light to make sure the whole face is illuminated.
Attention to Detail
Not paying attention to the finer details is another very common mistake we come across when scrolling through Instagram. As a Lash Technician, it's easy to focus on the lashes you have just done looking flawless in the picture, but before you press the capture button, check the whole frame. Brush the lashes into place, remove any stray fibres and make sure your background is clean and tidy. Keep skin texture natural so the focus stays on an honest representation of your beautiful lash work.

Top Tip: To spice up your Instagram feed and really show off those gorgeous little details, invest in a Clip On Macro Lens to take your photos to the next level! Just clip it onto your camera and blow your clients—not to mention your competition—away with those juicy close-up shots!
Bad Angles
Taking a picture from the right angle can create the illusion of depth and make a photo more memorable and eye-catching. An interesting angle can also make the image stand out since most mobile pictures are taken straight on.
Our Clip On Macro Lens is the ultimate hack to getting great quality lash photos. It's a 2-in-1 wide-angle and macro lens, and it really is as simple as clipping it on! This was London Lash Pro's biggest game-changer when it came to growing our Instagram following. Take a look at our Instagram page to see it in action.
A useful rule when taking an eyelash extension picture is to give your client a fixed point to look at. This helps keep their gaze consistent while you move the camera to find the right angle. For full-face shots, ask them to look straight ahead and check that their eyes appear relaxed and naturally aligned.
Top Tip: Hold your finger where you want your client to look and ask them to focus on it whilst you snap away.

So much of a potential client's decision-making is based on the photos of your work that you share on your social media and your website, so it really pays to have a great-looking portfolio! A lot of good lash extension photography is about training your eye, so make sure to look at the work of other Eyelash Technicians frequently and take lots of before-and-after photos. Always get your client's permission before taking or sharing their photos. Don't forget to have a bit of fun while taking these amazing pictures of your lash sets—smiley eyes are much more enticing!
Check out these featured products

Sale
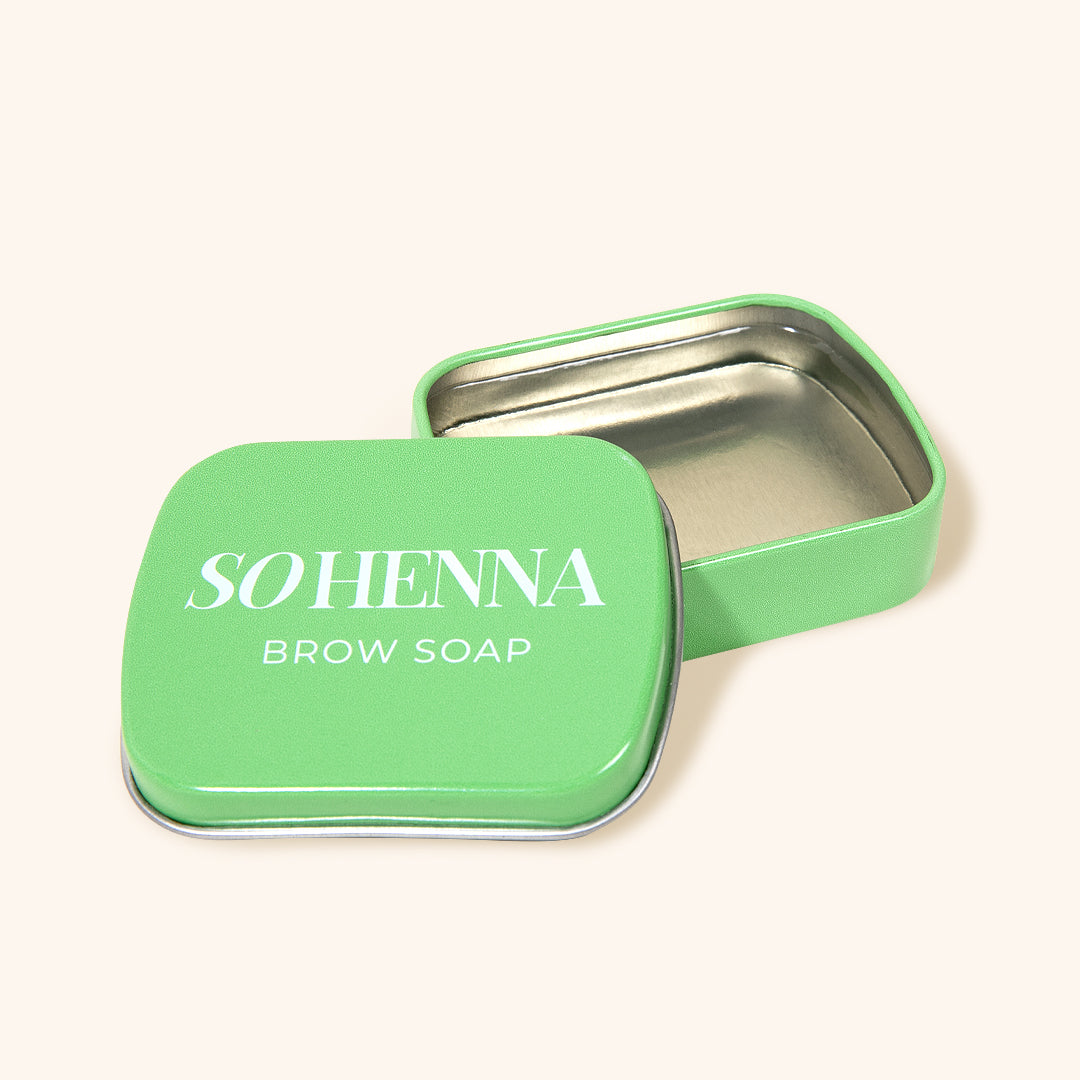
SO HENNA Brow Soap
1 review
£7.99
£4.79


Sale
Silicone Mascara Wands
No reviews
£3.99
from
£1.99

Carbon-neutral shipping on all orders
52046kg
shipping emissions removed
That's like...
213178
kilometers driven by an average gasoline-powered car