

GLUES
LIQUIDS
LASH LIFT
BROWS
OTHER PRODUCTS
OUTLET
How To Create Ombre Brows with So Henna
by Nina Morton Julai 23, 2021 2 min read

Table of Contents
Creating Ombre Brows with So Henna
So Henna Brows is an undeniably great treatment, and one which is popular among brow artists and their clients. You’d be forgiven for thinking that a graphic, one-tone look is all you can achieve with Brow Henna, but we’re here to show you how to create gorgeous ombre brows!
What Are Ombre Brows?
Ombre brows give beautiful depth and definition to the eyebrows. This popular brow style allows for a more natural finish by creating a softer, less pigmented appearance at the start of the brow, gradually becoming more defined towards the tail.
Here, we’re talking about a temporary ombre effect created with brow henna, rather than permanent makeup or ombre powder brow tattooing.
How Do I Create Ombre Brows Using Brow Henna?
Begin with a consultation and follow the manufacturer’s current patch-testing and preparation instructions before treatment.
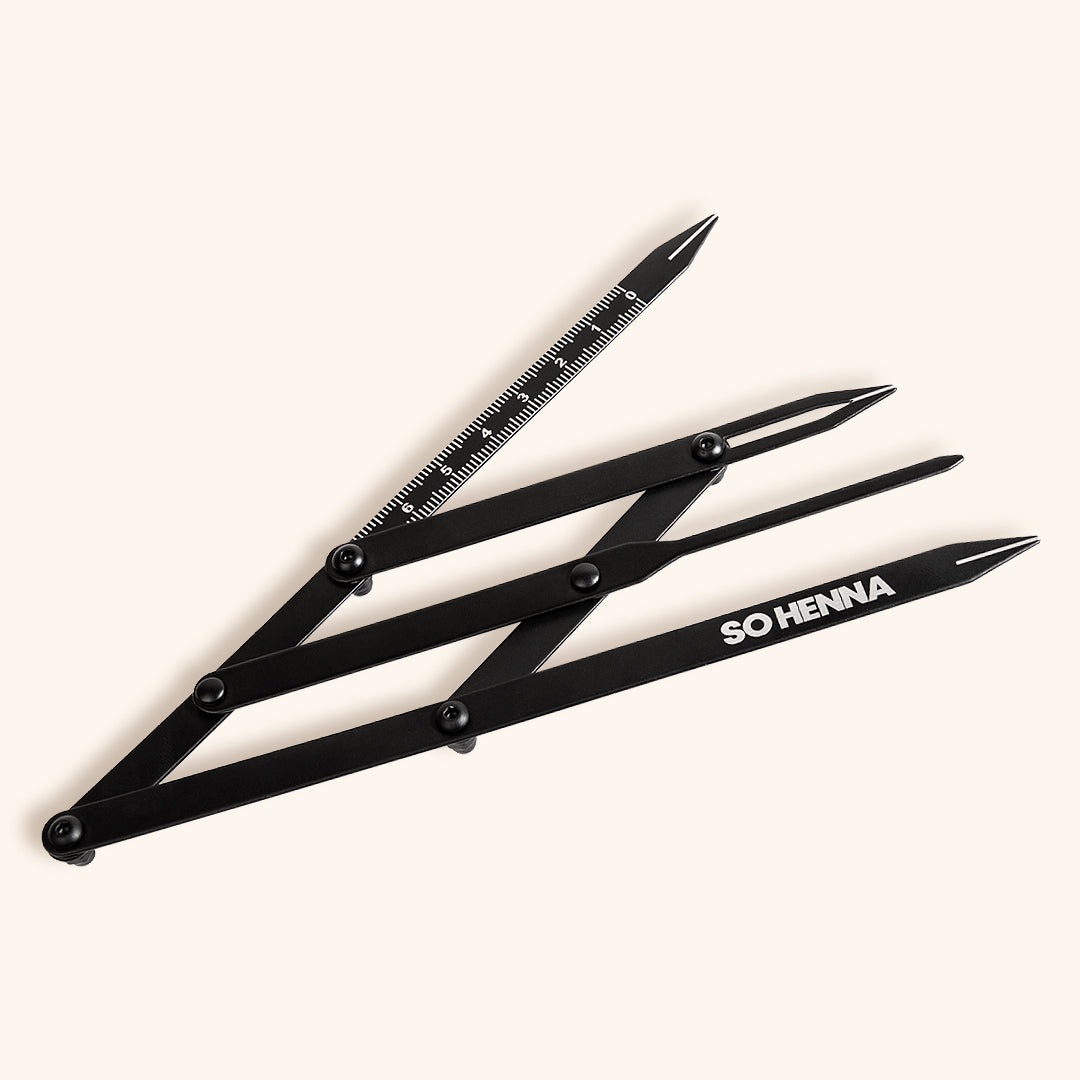
Next, map the brows. Using brow mapping tools or a golden ratio divider, mark the inner brow, the top and bottom of the arch, and the tail. Then use suitable brow mapping thread to join the points and outline the brows. Apply White Paste around the outside to help guide your henna application.

Next, mix your So Henna brow powder according to the current product instructions, measuring the powder and water carefully. Use the So Henna Mixing Tool to achieve the recommended smooth, even consistency.
How Do I Apply Brow Henna for an Ombre Effect?
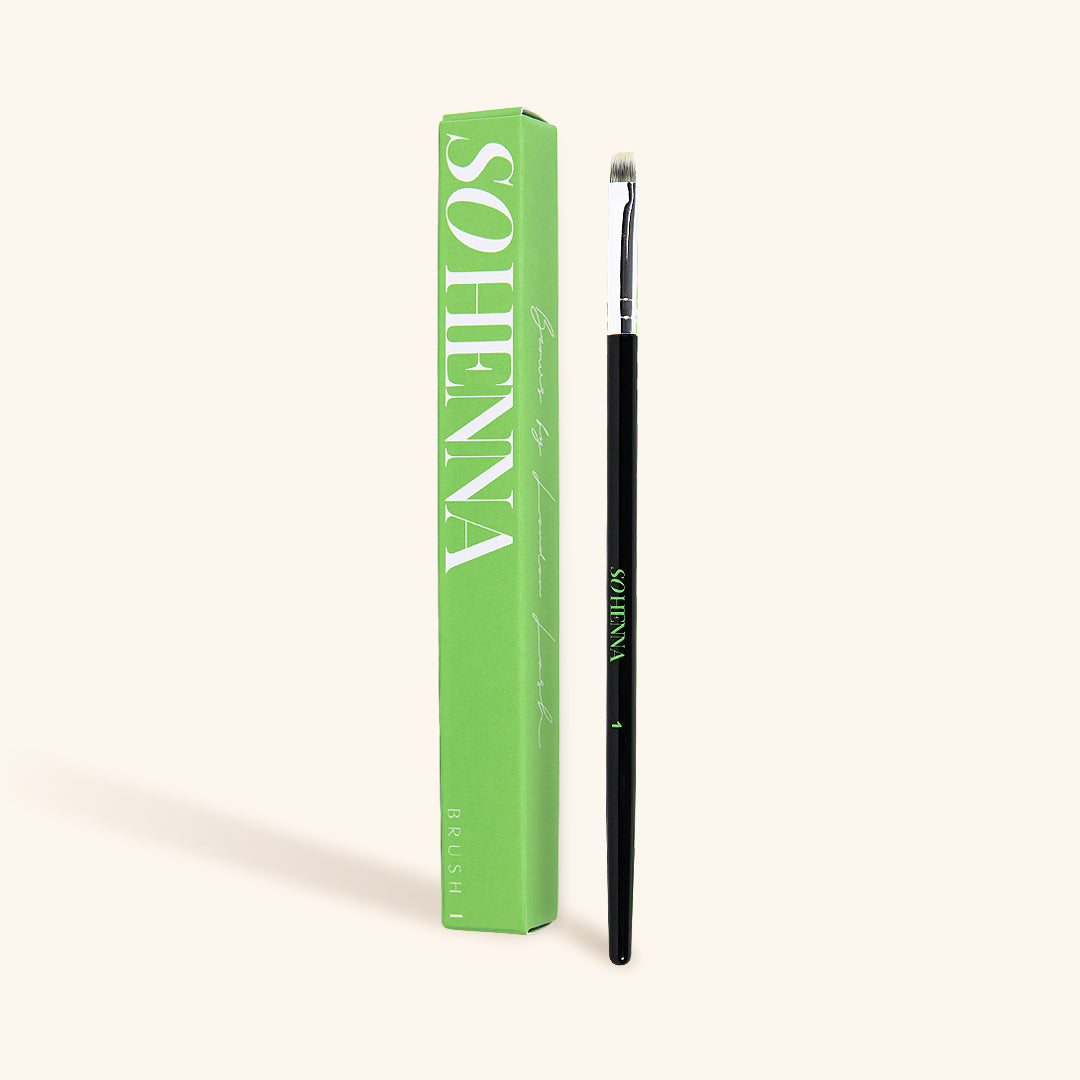
Use an angled brush to apply the henna, starting from the tail end. This helps you build definition through the arch and tail while keeping the front softer—the key to your ombre brows effect!
Apply an even layer, working inwards according to your training and the product instructions. Plan the application and removal so the front of the brow receives less colour development than the tail, while keeping every section within the manufacturer’s recommended processing limits.
If you’re used to applying Brow Henna from the inner brow and moving outwards, remember to plan your removal order too. Removing the colour from the front before the rest of the brow can help create a softer transition. Monitor development throughout rather than relying on one fixed timing for every client.
There’s another way to create a soft ombre finish, but it’s a little trickier. Start at the tail and work inwards. As you approach the front, use a controlled amount of product and a clean brush to soften the transition with light upward strokes. This takes practice, so follow your professional training and avoid dragging a heavy block of colour into the inner brow.
Top tip: assess your client’s skin, brow hair, chosen shade, and desired finish before deciding how much definition to build. The aim is a gentle gradient, not a sharp divide between a pale front and a dark tail!

We hope you liked this post and found it useful! Remember to tag @sohenna_official in your brow sets so that we can swoon over them!
Check out these featured products

Sale
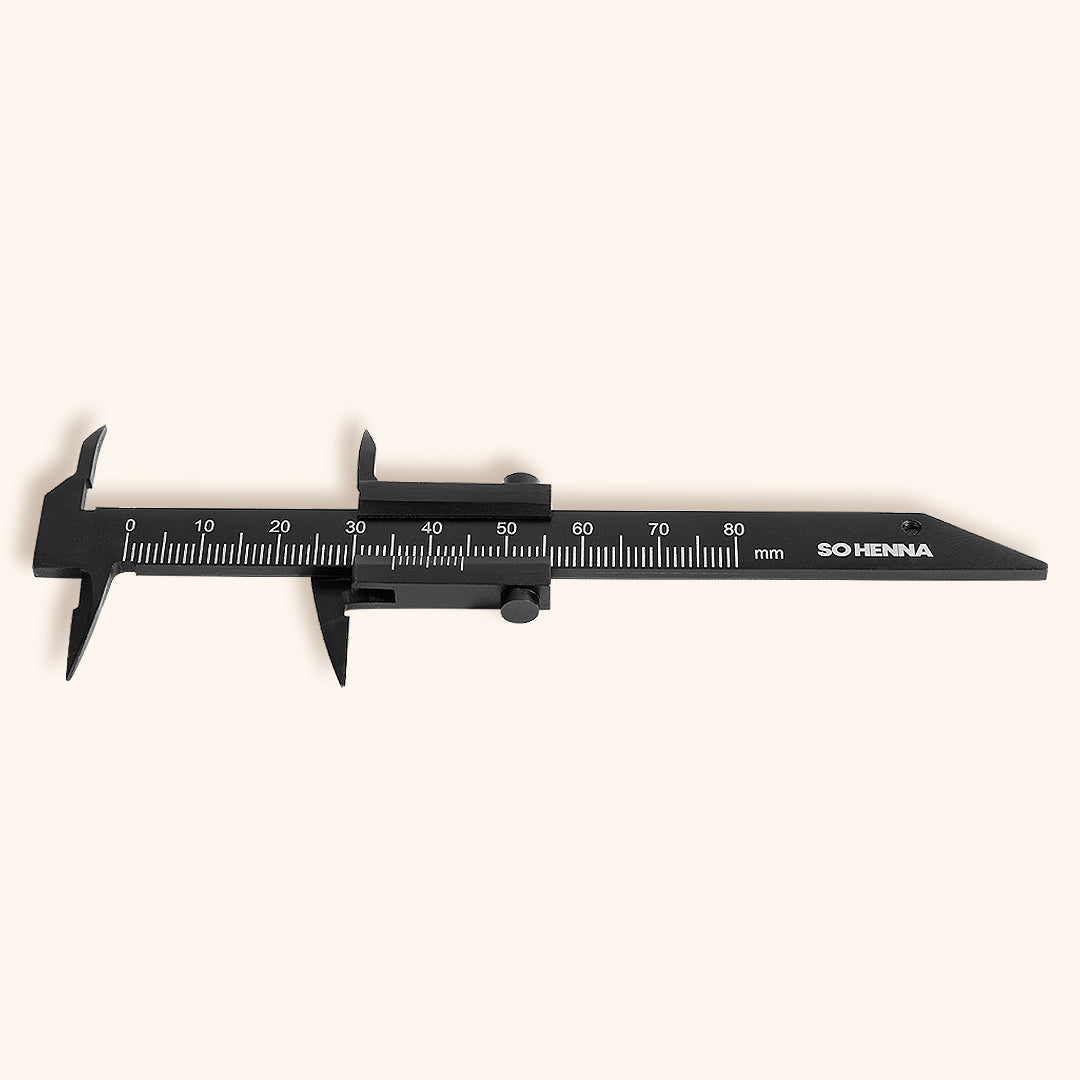
So Henna Eyebrow Caliper
2 reviews
£18.99
£7.60

Sale
So Henna Golden Ratio Divider
1 review
£19.99
£6.49


Sale
SO HENNA WHITE BROW MAPPING PASTE
1 review
£16.99
£10.19

Sale

Carbon-neutral shipping on all orders
51990kg
shipping emissions removed
That's like...
212949
kilometers driven by an average gasoline-powered car